
Snapshots: A Photo Journey was crafted with love and sentimentality as a unique way to propose to my then-girlfriend, now-fiancée, Katy. It’s more than just a game; it’s a walkthrough of our shared history, meandering through the cities we’ve called home and the myriad of experiences, both highs and lows, that have shaped our journey. This page is dedicated to sharing the behind-the-scenes of how I brought this idea to life, in hopes it might inspire and guide others looking to create something deeply personal.
Development Process
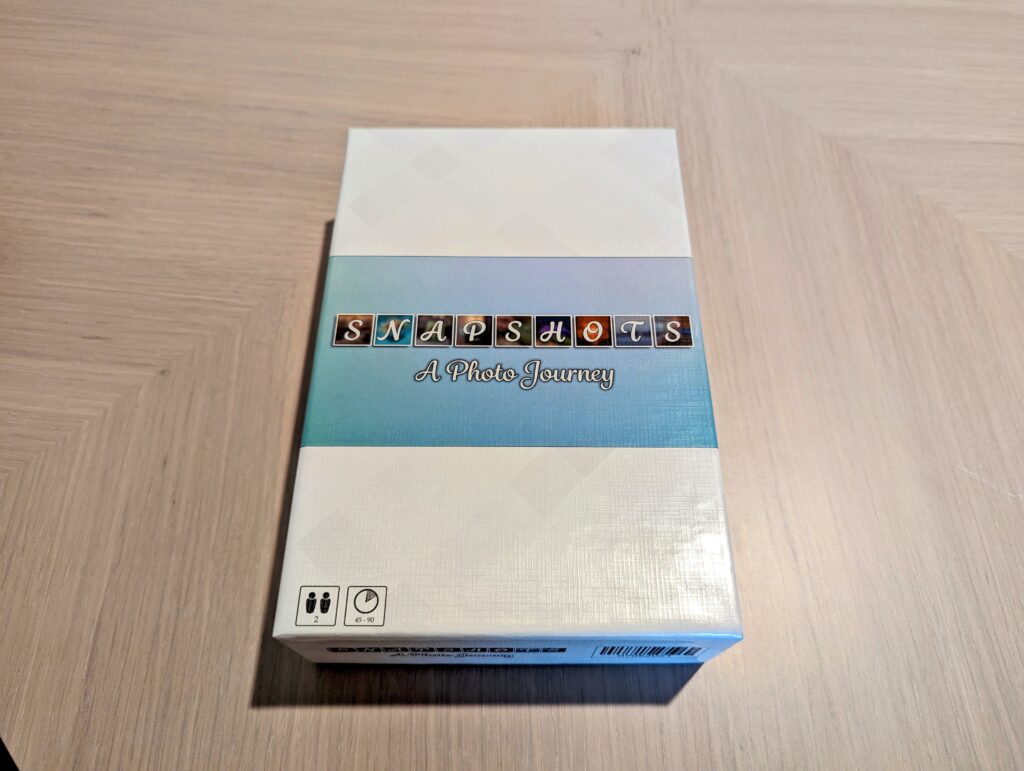
- ‘Snapshots: A Photo Journey’ – My Custom Proposal Board Game!
I wanted to share a special project I recently undertook that combined two of my passions: the love of my life, Katy, and board gaming. As I planned a unique way to propose, I thought, why not design a board game that encapsulates our journey? (FYI, I’m not married yet but I was still smart enough to ask for permission to post this first in case Katy didn’t want to share it with the world)
I’ll introduce the game first but I’ll come back later to show my design process, how the game works, and how I had the game produced.
Concept:
‘Snapshots’ isn’t just any game—it’s the story of Katy and me. Each space and card represents memories, places, and experiences that shaped our relationship. From our first chat to memorable trips, every step was a trip down memory lane.Components:
1. **Memory Tiles:** These tiles have photographs representing moments of our lives. Some are joyous occasions, others are simple daily moments we cherish, and some are even memories we might want to forget but still shaped our lives.
2. **Special Tiles:** “Move to Dallas”, “Move to Red Oak”, these tiles signaled big changes and decisions in our journey.
3. **Final Card:** The climax of the game, and my heart pounding moment, was the last card that read, “Will you marry me?”Design Choices:
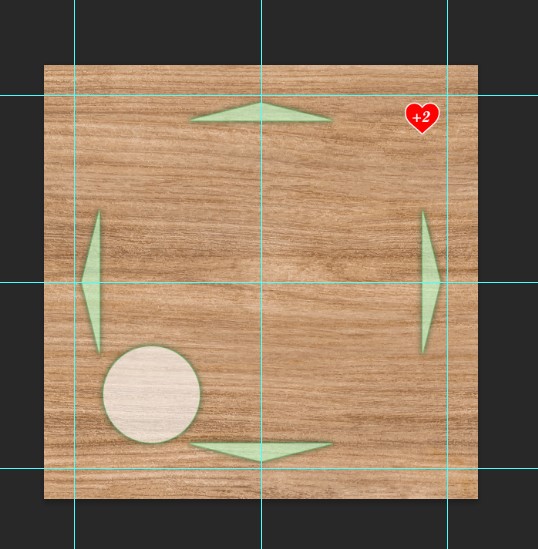
The most distinctive design element of the game was the face of the memory tiles. Using a woodgrain pattern, I simulated the feel of photos laid out on a tabletop. Special tiles had a corrugated cardboard texture to set them apart (these were the “moving” tiles so cardboard made sense).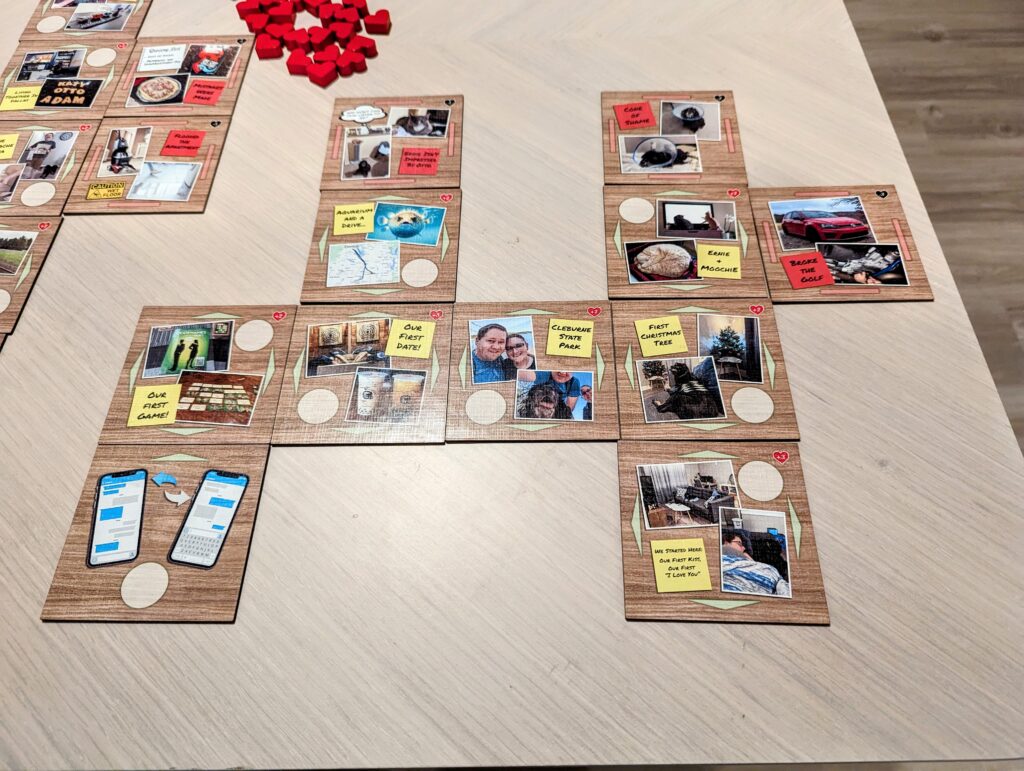
The Challenge:
The tricky part was ensuring the game was not only sentimental but also engaging. Balancing personal touches with at least a bare minimum of gameplay mechanics was a challenge, but the look on Katy’s face as we progressed through the game was priceless. Basing the game off of our shared memories meant we had plenty to talk about as we remembered each moment.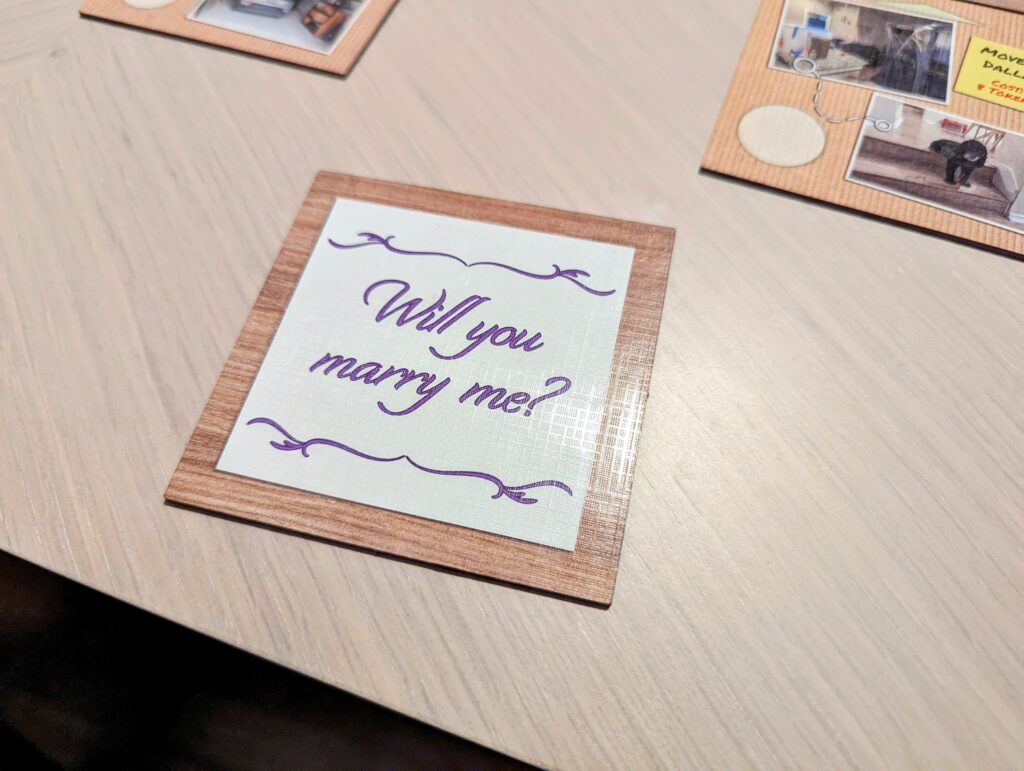
Outcome:
I am elated to share that Katy said YES! Not only did the game serve its purpose, but we now also have a keepsake that we can revisit in the years to come. - Turning Memories into Game Mechanics
When I started thinking about making a board game to propose to Katy, my original idea was something reminiscent of “The Game of Life”, with a set path and spaces dedicated to our memories. I even sketched a mock-up in OneNote, but it soon became evident that a fixed path, already laid out with our memory-images, felt too linear. I wanted it to unfold more like real life.
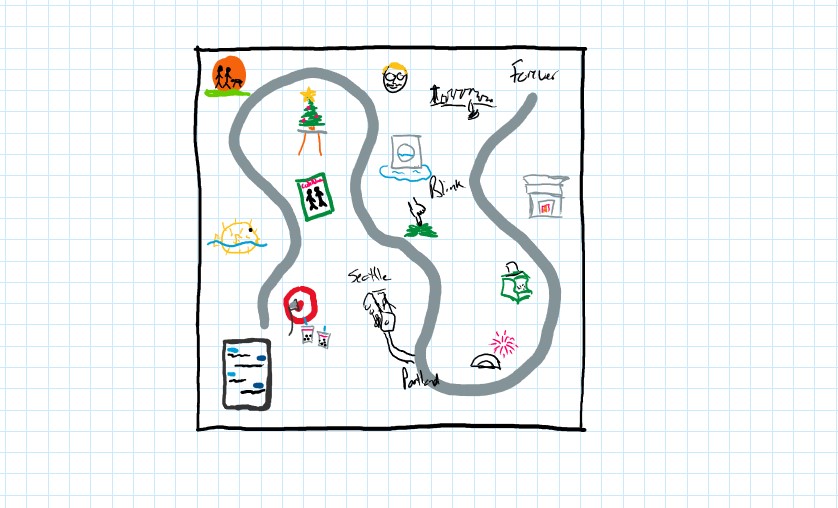
Early concept sketch: A ‘Game of Life’ style map I crafted in One-Note, plotting our shared memories along a fixed path. Ended up wanting something less linear for Snapshots. As corny as it sounds, I started to realize it wasn’t the path itself that was important but the memories and photographs. They were what would move the game forward so I shouldn’t lay them all out in front of us at the very start. Instead, I needed to let the game evolve just as our relationship had: spontaneously and unpredictably.
I ended up drawing inspiration from “Betrayal at House on the Hill” (super romantic, I know). However, instead of a pre-defined entrance hall, I started with two phones exchanging text messages – a nod to Katy and me meeting online. I replaced the haunted rooms with tiles showing specific memories, complete with photographs from the memories. And instead of a stack of tiles for each floor of the haunted house, I had three stacks, one for each location we’d lived at over the past couple of years.
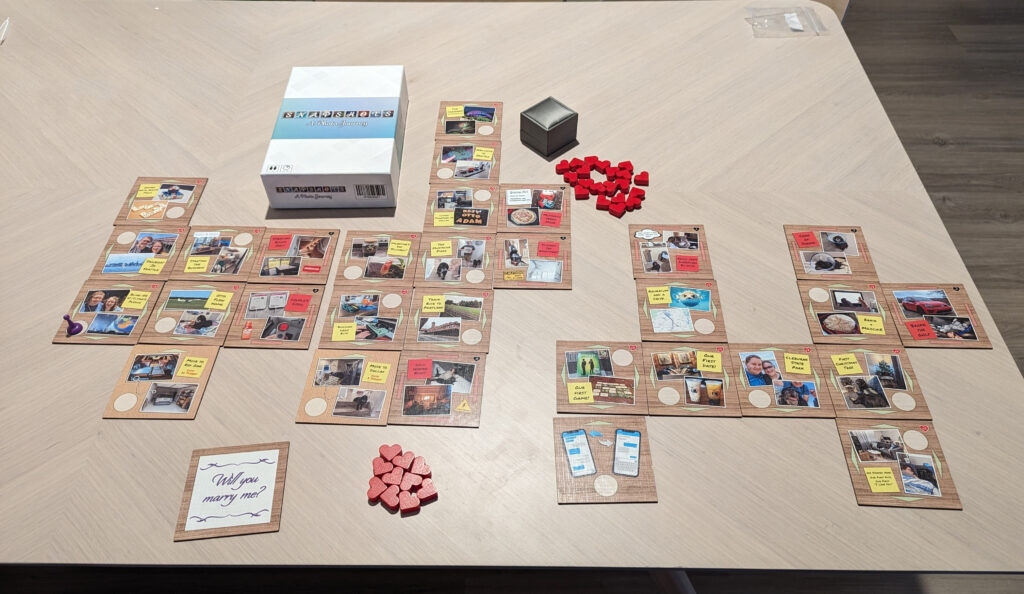
One of the three distinct tile stacks representing the three special cities we’ve called home over the years. Now to be upfront about it, the mechanics of “Snapshots” aren’t complicated. Players don’t go up against a scenario or hunt for items. Drawing a tile will earn heart tokens if it is a fond memory (with some more cherished memories being worth extra) or might cost tokens for not-so-great memories (like the evening we returned from a trip only to experience a power outage all night).
These negative memory tiles also add a twist: they block the path, making us change directions. The first two location stacks contained a ‘move’ card to transition to the next location, but to move, a set number of heart tokens was required. If Katy didn’t have enough tokens, the ‘move’ tile had to be shuffled back into that stack before carrying on with drawing memories.
I worked on the heart token values on the tiles in a spreadsheet doing virtual playthroughs to make sure no matter what happened, we could move forward. The way it ended up, you could finish the game without seeing all of the tiles depending on the luck of the draw.
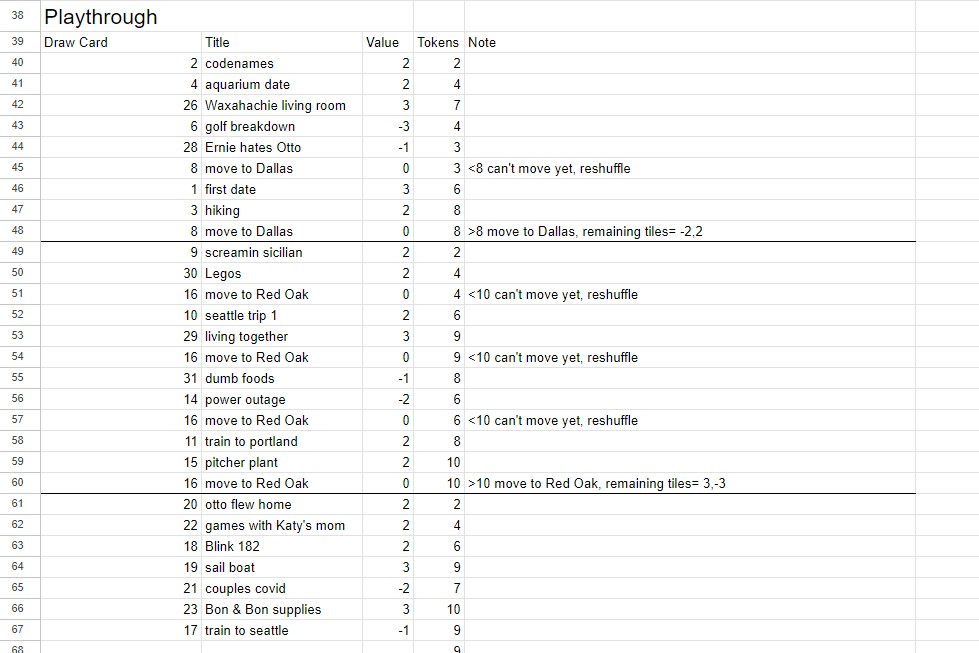
One of my many virtual playthroughs of the game to make sure the mechanics would work out on the big day. I was okay with not seeing every card during a playthrough because I figured we could revisit the unrevealed tiles after the game. However, on the big night, we ended up seeing all of the tiles while playing.
The way the game played out, the path was random based on when we pulled good memories or bad memories from the deck. I like how it feels more like real life than the first concept with a fixed path. And how did the game end? Though all tiles were shuffled in their own stacks, I ensured the “Will you marry me?” tile sat at the very bottom of the last stack, guaranteeing its place as the grand finale.
- Creating the Artwork for Snapshots
Let me show you how I went about creating the artwork for the game tiles in Snapshots: A Photo Journey (the board game I designed and produced to propose to Katy).
First and foremost, I had to pick the right memories. This meant diving into my photo collection. I relived those moments as I scrolled and felt my decision to propose to Katy being reinforced. As moments stood out, I pasted the photos into a Google doc to keep them organized. I made sure to pick memories from the three cities we’ve lived in during our relationship.
Before I could make the artwork in Photoshop, I needed to figure out what size the pieces would be. That depended on where I got the game produced. While I initially considered Board Games Maker to make the game, The Game Crafter eventually won me over. The way they let you organize all of the pieces as one game and the ease of their artwork upload tool made the choice clear for me.
Having chosen The Game Crafter, I started with their tile template in Photoshop. I aligned guides to the template’s safe zone so that I could hide the template and just work with the guides showing.
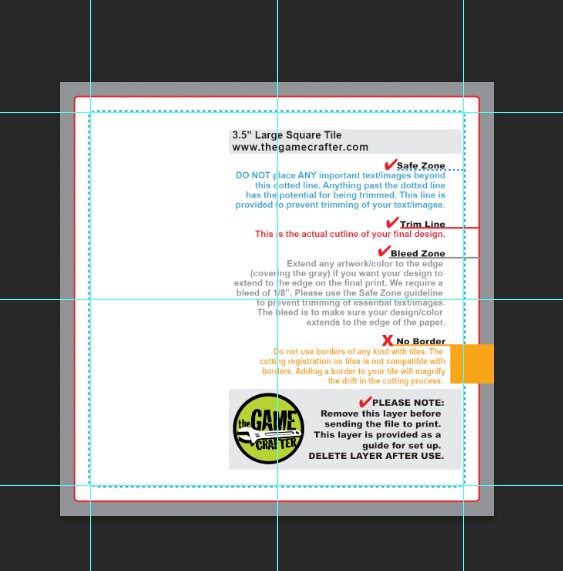
The Game Crafter provides templates online. I added guide lines to the template in Photoshop to make it easier to work with. Being no expert in design, simplicity was key. I added a woodgrain background for that tabletop feel. To show which directions Katy could move, I added green triangular arrows on the good memory tiles, while red rectangles blocked movement onto the less pleasant memories. The good memories also had red positive heart values, and a circle for Katy’s game token. Conversely, the more challenging memories had black negative heart values and no place for Katy’s game token. To streamline the rest of the process, all these elements were saved in a “nav elements” layer, which allowed me to easily customize each tile from the original template.
I started with a wood grain background and then added the nav elements. From here, I could duplicate this template and add the memory photos to each tile. With the groundwork laid, it was time to add the photos. I chose two photos for each memory and placed them with a little bit of skew to look like we were going through photos together. I used layer styles to add a white border (stroke) and a drop shadow in an attempt to make them look more like printed photos. I drew a simple square to act as a post-it note to describe the memory: yellow post it notes for the good times and red for the challenging ones. Occasionally, I’d sprinkle in some extra details—a funny thought bubble, a joke grocery list, a bottle of Dayquil, or a wet floor sign for the time our washing machine decided to flood the apartment.
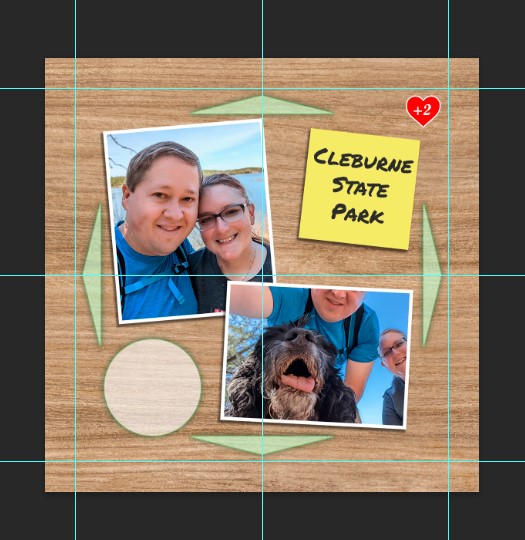
An example of a good memory, a hike with Katy and Otto at Cleburne State Park. 
An example of a “bad” memory. The time we got Covid together. The “move” tiles were very similar but I used a cardboard background (to look like moving boxes) and used photos from where we moved from and where we moved to. The post it note was also updated to include the token cost for the move.
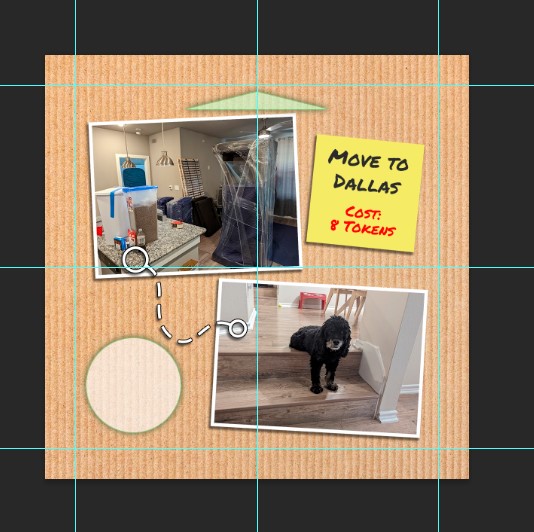
One of the move tiles showing the cardboard background and the token cost on the post-it note. I probably went through and rechecked my photos, design elements, text and heart values 10 times to make sure there were no mistakes. So far we haven’t found any typos or messed up elements so I guess I caught all of my mistakes before uploading the artwork.
- Making the Physical Copy of Snapshots
Picking up from where I left off, I wanted to finish up by telling about my experience turning my digital designs for Snapshots into a tangible game. As I said in the last post, I went with The Game Crafter.
Let me preface this by saying this isn’t some sponsored spiel. I just genuinely enjoyed the service. I know a lot of people reading this have used them or are at least familiar so I’ll just talk about some of the things I liked about their site rather than going into detail.
Organizing Your Designs:
One of the features I found intuitive is how the site helps you compartmentalize your designs. As you upload, you can assign each design to specific games on your account. So let’s say you’re working on multiple games simultaneously, each game’s components remain neatly tucked within its designated space. For Snapshots, I appreciated this because if I ever want to print another copy, it’s all right there, ready to go. (FYI, my one-off cost was $47.65)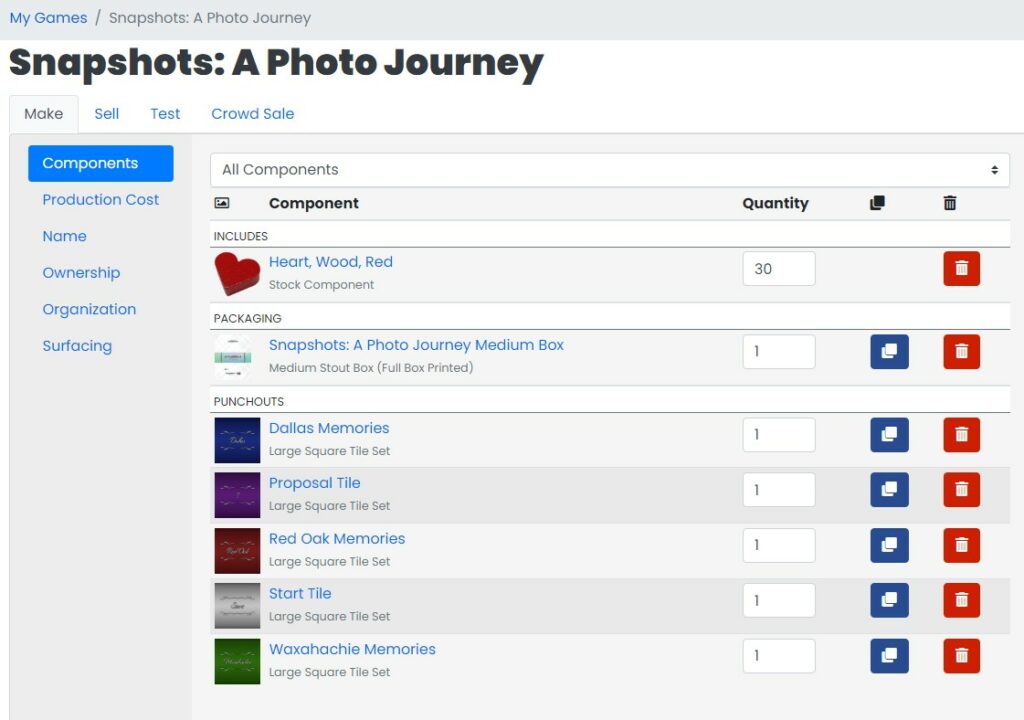
My page for Snapshots on The Game Crafter. It is all easy to organize to make reprints a breeze. Handling the Artwork:
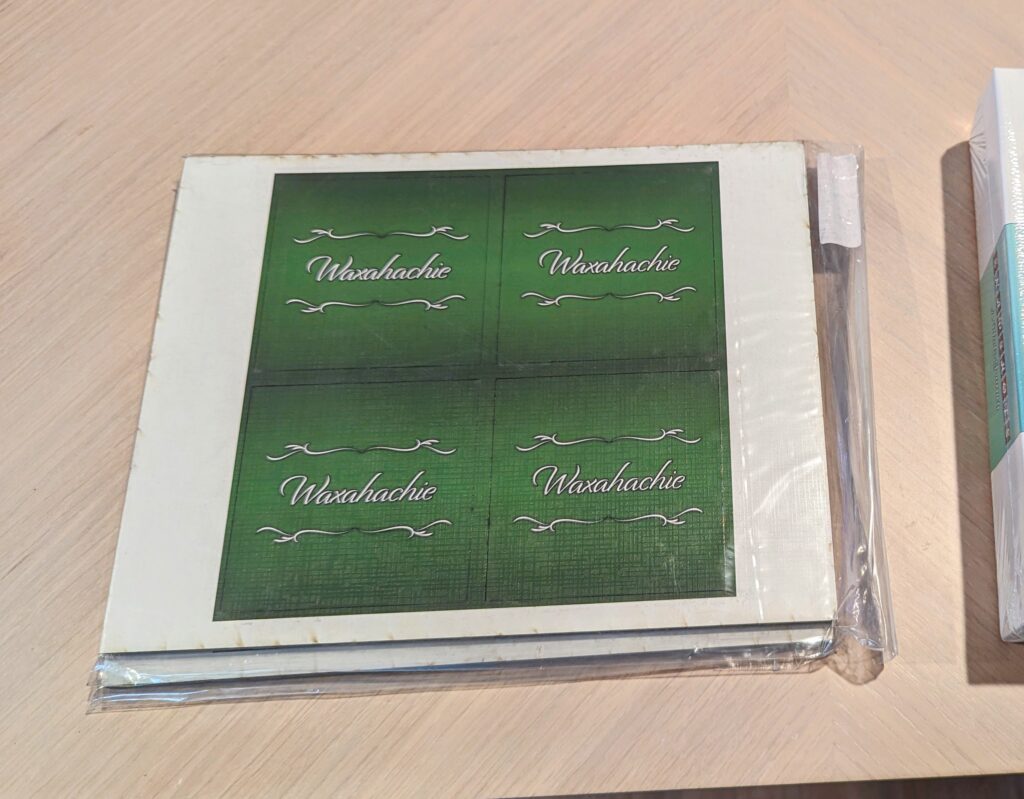
The main component of Snapshots was the “large square tile” punchout. With 31 unique designs on the front and 5 different backs, the uploading process had to be streamlined. Here’s how it was handled on the website: for tiles with the same back (like those with “Red Oak”), you upload the back once, then on the same page, you upload all of the unique front faces. It works way better than having to manually assign the back to each unique front face.
For tiles like the ones I chose to use, you upload the back of the tile first and then all of the unique fronts for the tiles. This way you don’t have to manually add the back to each front. Placing the Order:
Before clicking the purchase button, I might’ve been obsessively meticulous—double, even triple-checking everything. When the game finally landed on my doorstep, I punched out all tiles. A small heads-up—there will always be some minor laser soot on the edges since they use a laser cutter to burn out the punchout components. It was quickly wiped off with a rag. Then I did a quick playtest to make sure, one more time, that it would all work out properly.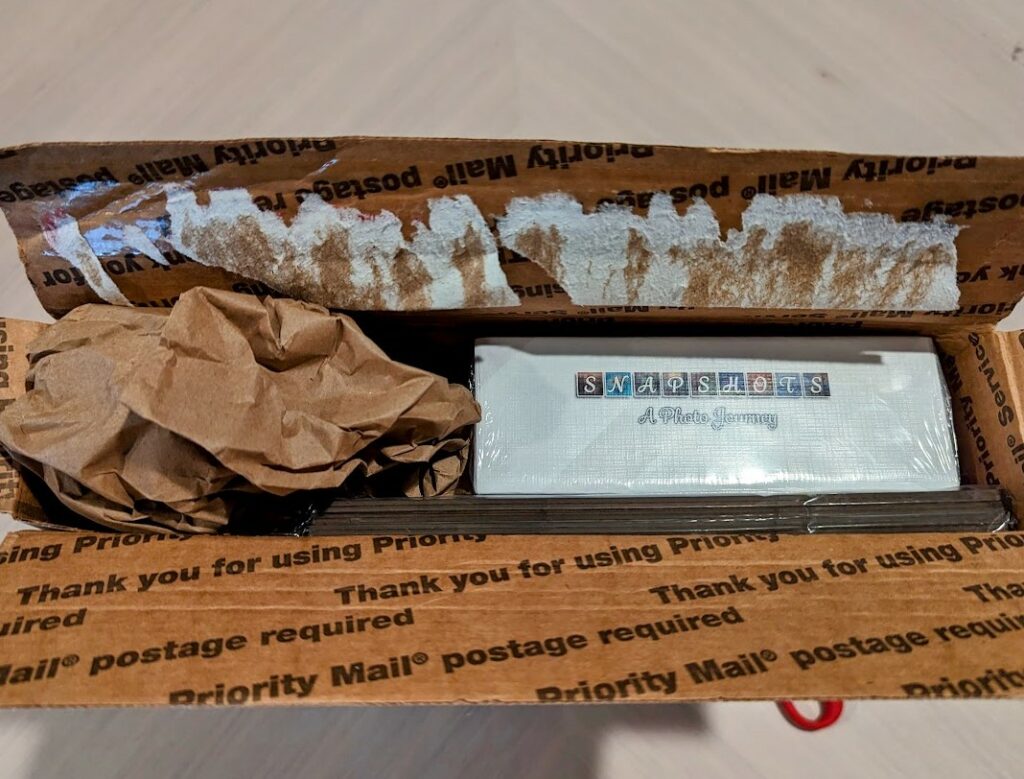
The game came nicely packed from The Game Crafter. 
The tiles are still in the full sheet that was placed on the laser cutter. It is easy enough to punch them out and wipe the laser soot off of the edges. Finishing Touches:
Last but not least, I needed to add something to the inside of the box to prevent the tiles rattling around. Using Solidworks, I modeled the box and tiles, and created a 3D printable insert. It snugly holds the tiles, with an empty space left for for the heart tokens.Here’s a short video showing the model of the insert, box, and tiles in Solidworks:
Solidworks models of the 3D printable insert, tiles, and game box. 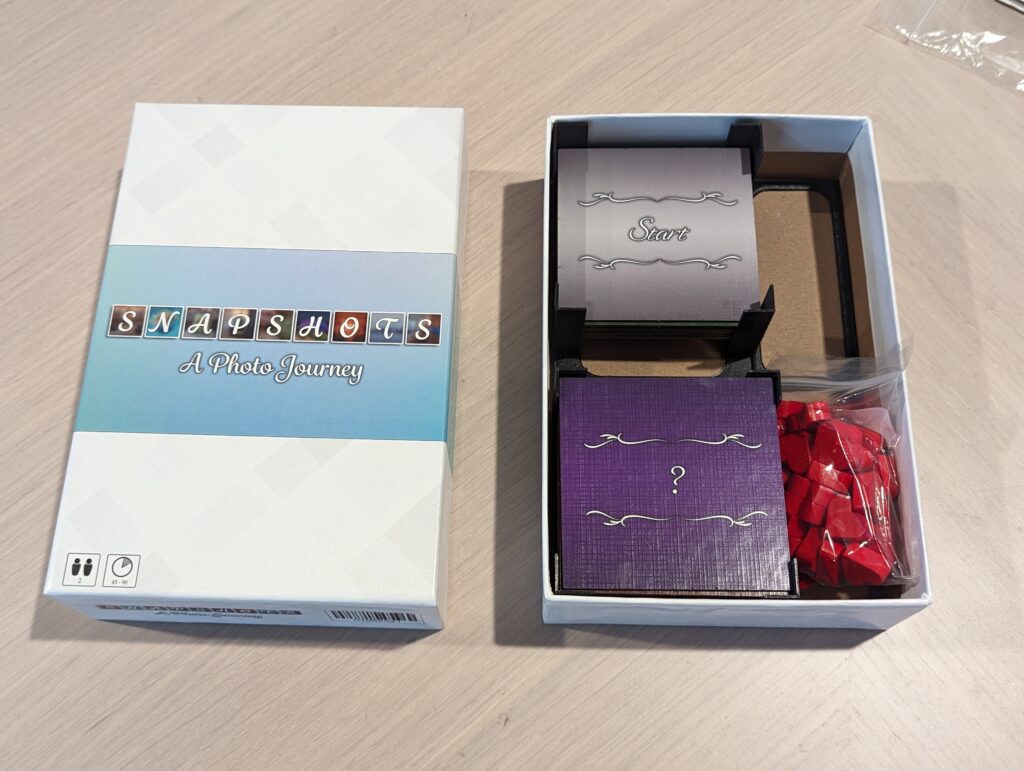
With everything set, I hid the box away and started figuring out when we would play it.
The Big Day:
I ended up picking August 12, 2023. We had already planned on trying to get up super early that day to watch the Perseid meteor shower. That was a good start to the day. It was a Saturday so we did have some weekend errands to run but that afternoon we found ourselves on the couch thumbing through movies on the TV.You can’t imagine how surprised I was when, out of the blue, the movie “Game Night” popped up. We’ve watched it before and between how funny it is and it having both Jason Bateman and Rachel McAdams, we both love it. Of course I asked to watch that one.
We enjoyed some spicy alfredo tortellini with crispy garlic bread as an early dinner and watched the movie. It was as funny as ever even though my mind was on the game night we were about to have. As we finished the movie, Katy commented on being tired from waking up so early. It seemed the meteor shower might have backfired a bit.
But my mind was set. I asked if she would stay up just a bit longer. I had a game for us to play. She knew something was up immediately and seeing our memories appearing out of the deck as we played told her exactly what was going on.
We’ve been engaged for a little over a month now and Snapshots is standing proudly on the shelf next to Katy’s Lego Orchid. I’m very happy with how it all went.